
Video Transcript
Setting up your Registration Form in Rosterfy is easy.
Under the User's menu, head to Forms.
Here, you will see two default forms. The first is the User, or volunteer, registration form.
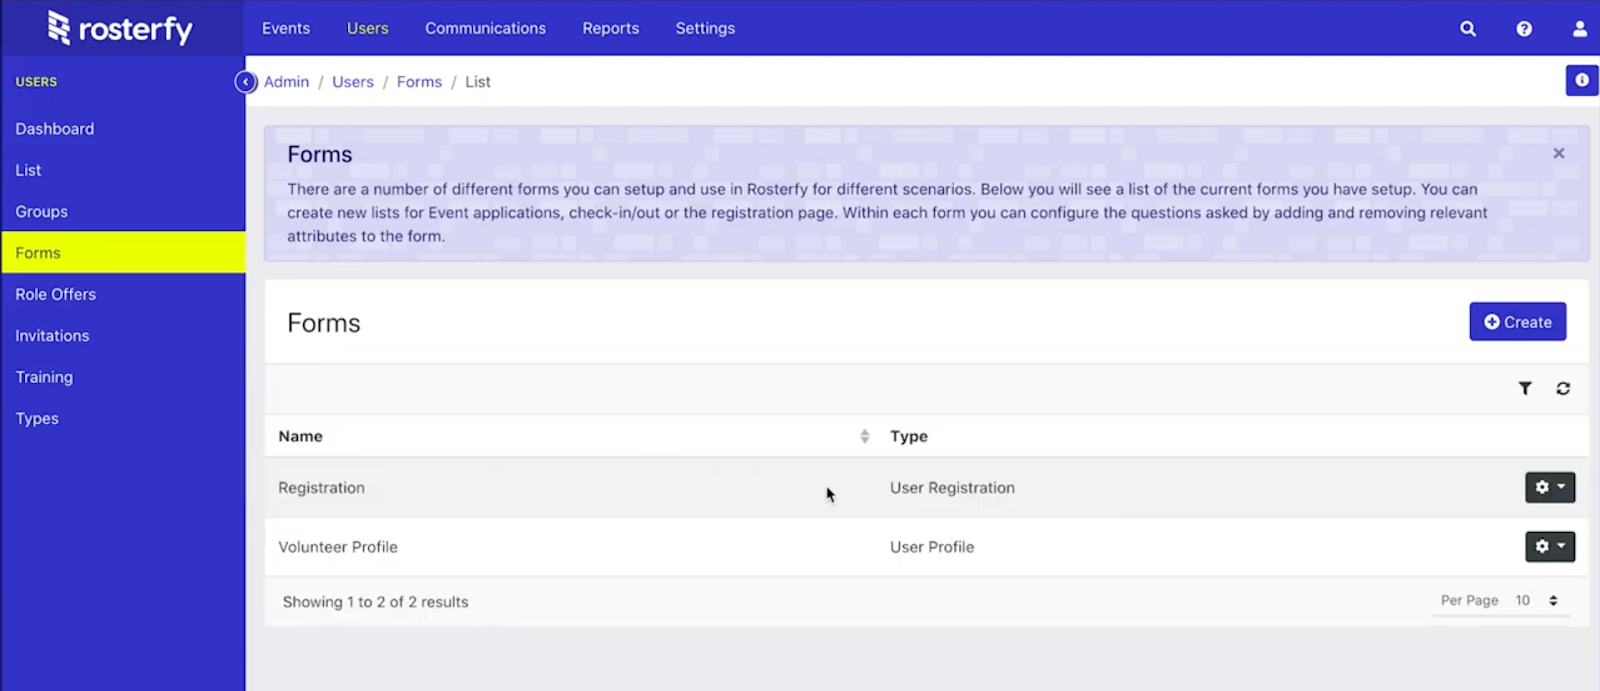
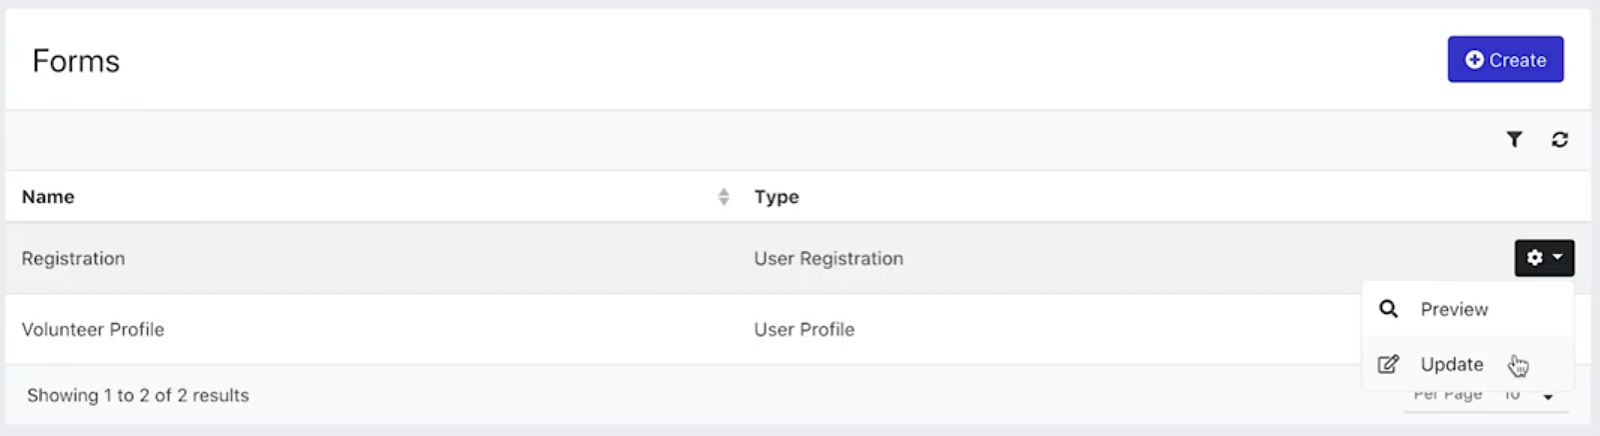
This is used to collect basic details, such as name, date of birth, and email address, which is then used to create a Rosterfy account. The user profile displays the information collected on the registration form within the volunteer portal. To edit the form, click the update button.
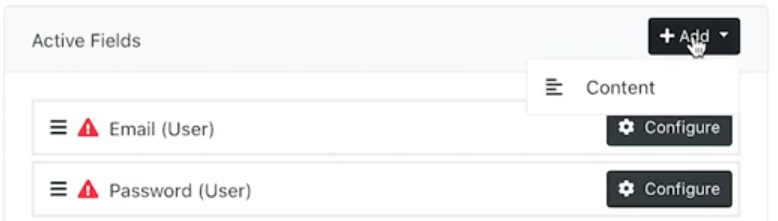
To the right, you will see the active fields list. These are the fields that make up your registration form. The fields with the red triangles cannot be removed from the form.

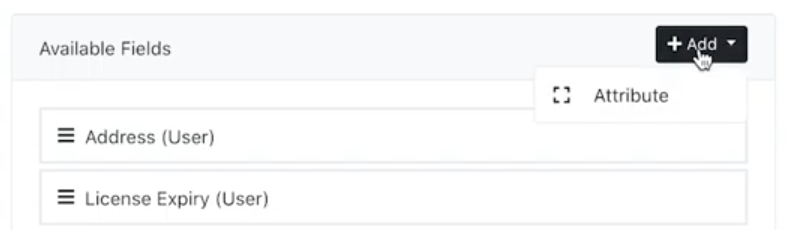
To add and remove fields from the form, simply drag from the available fields list onto the active fields list.
If you need to create an additional field, click the add button.
You can also add content to forms. This is useful to add a block of text or a link to a PDF, for example.
We recommend keeping this initial account creation form short and simple, to make the process easy for your volunteers to get started.
Once you are happy with your form, click save.
You can then copy the registration link and start recruiting your next batch of volunteers.