
Rosterfy allows integration with Adobe Sign. A useful tool to manage the collection of digital signatures for contracts and other documents.
This can be done anywhere and on any device and can help to minimise signature paper-work delays. Examples include things such as contracts of employment or health and safety waivers.
Installation:
1. Navigate to the Rosterfy Integrations Manager. This can be found at Settings > Advanced > Integrations > List.
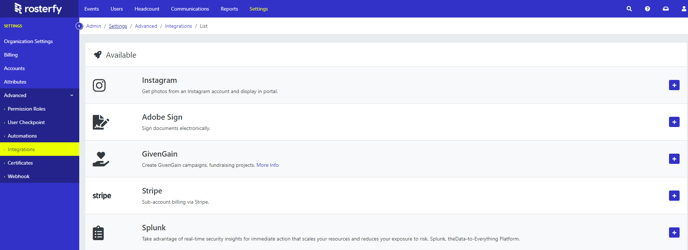
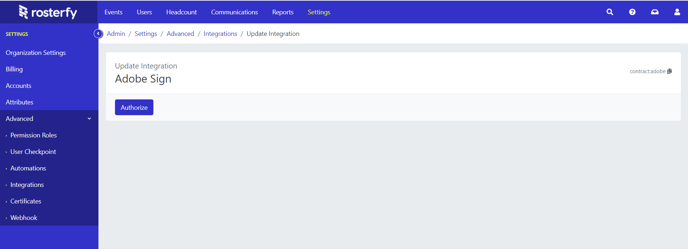
2. Once you have clicked the little blue cross on the right hand side of Adobe Sign, you will be taken to the following page. Authorise will need to be selected.
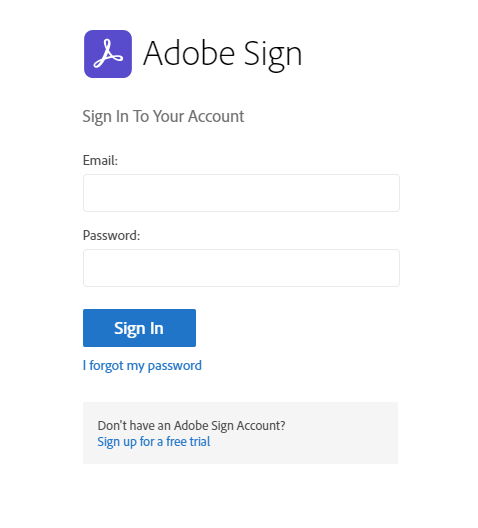
3. A pop up will appear prompting you to Sign In with your Adobe Sign account details.
4. Once authorised, back on the Rosterfy Integrations page, you will notice that there is now a red Disable button. Rosterfy and Adobe Sign are now connected.
In the future, if you ever want to remove the integration, this Disable button will be the way to do it.

Contracts List:
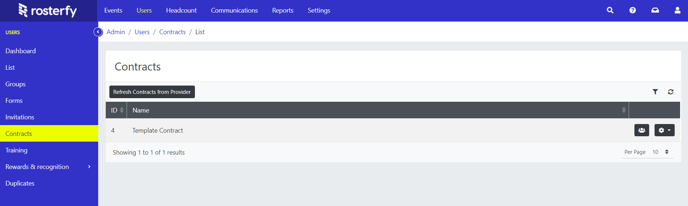
When Rosterfy and Adobe Sign and integrated you will be able to see the various documents within your Adobe Sign account. These can be found in Rosterfy in the Users section. Following Users > Contracts > List.
If there is nothing displaying in the first instance you should click the Refresh Contracts from Provider button.
Clicking the View Users button on the right hand side will open the list of users that have been sent a contract to sign and their current signing status.
Sending A Contract:
To send a document to a User for a digital signature we will have to use an automation.
The Automations page can be found by following Settings > Advanced > Automations.
It is recommended that you are familiar with automations before setting this up. More help and information on automations can be found within Automations Overview and Creating automations.
Documents can be sent any time an Automation task can be triggered. So depending on the need, the documents can be sent to obtain a digital signature in various stages of the journey.
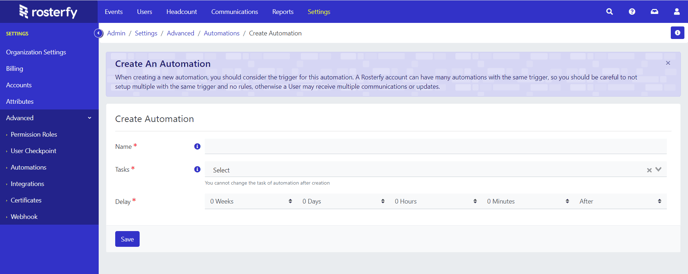
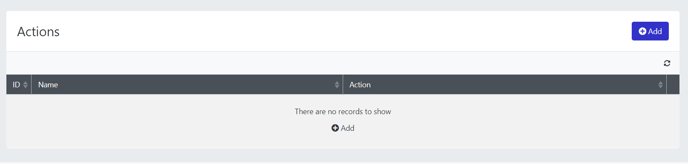
Once an automation task any rules and delays have been selected and saved there will be an Add Action button. This action is what will send the document to the user to be signed.
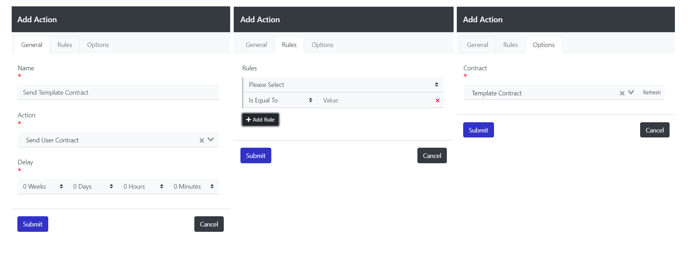
When we click to Add button a page will pop up with three tabs. The three tabs have been outlined below:
In the General tab, the action will need to be set to Send User Contract.
The Rules tab you can set any additional rules for the action.
The Options tab will have a drop down of all documents that are shown in the contracts list on Rosterfy. So you will select which ever document you want to be signed.
Once an automation has been created to send the contract, the User will be sent a document to sign whenever that automation is triggered.
There is flexibility in sending the contract based on any automation action. You can see below more detailed guides for sending the contract at the following commonly used stages in the journey.
Sending a Contract on Account Creation
Sending a Contract when a Form is Completed