Roles can be created for candidates to browse and apply to.
Before creating Roles, make sure you have had a look at the Workforce Recruitment Setup Guide
Creating Roles
Create a 'Functional Area'.
A functional area can be a department or business unit or a way to categorise your roles.
Go to Headcount > Functional Areas > Create
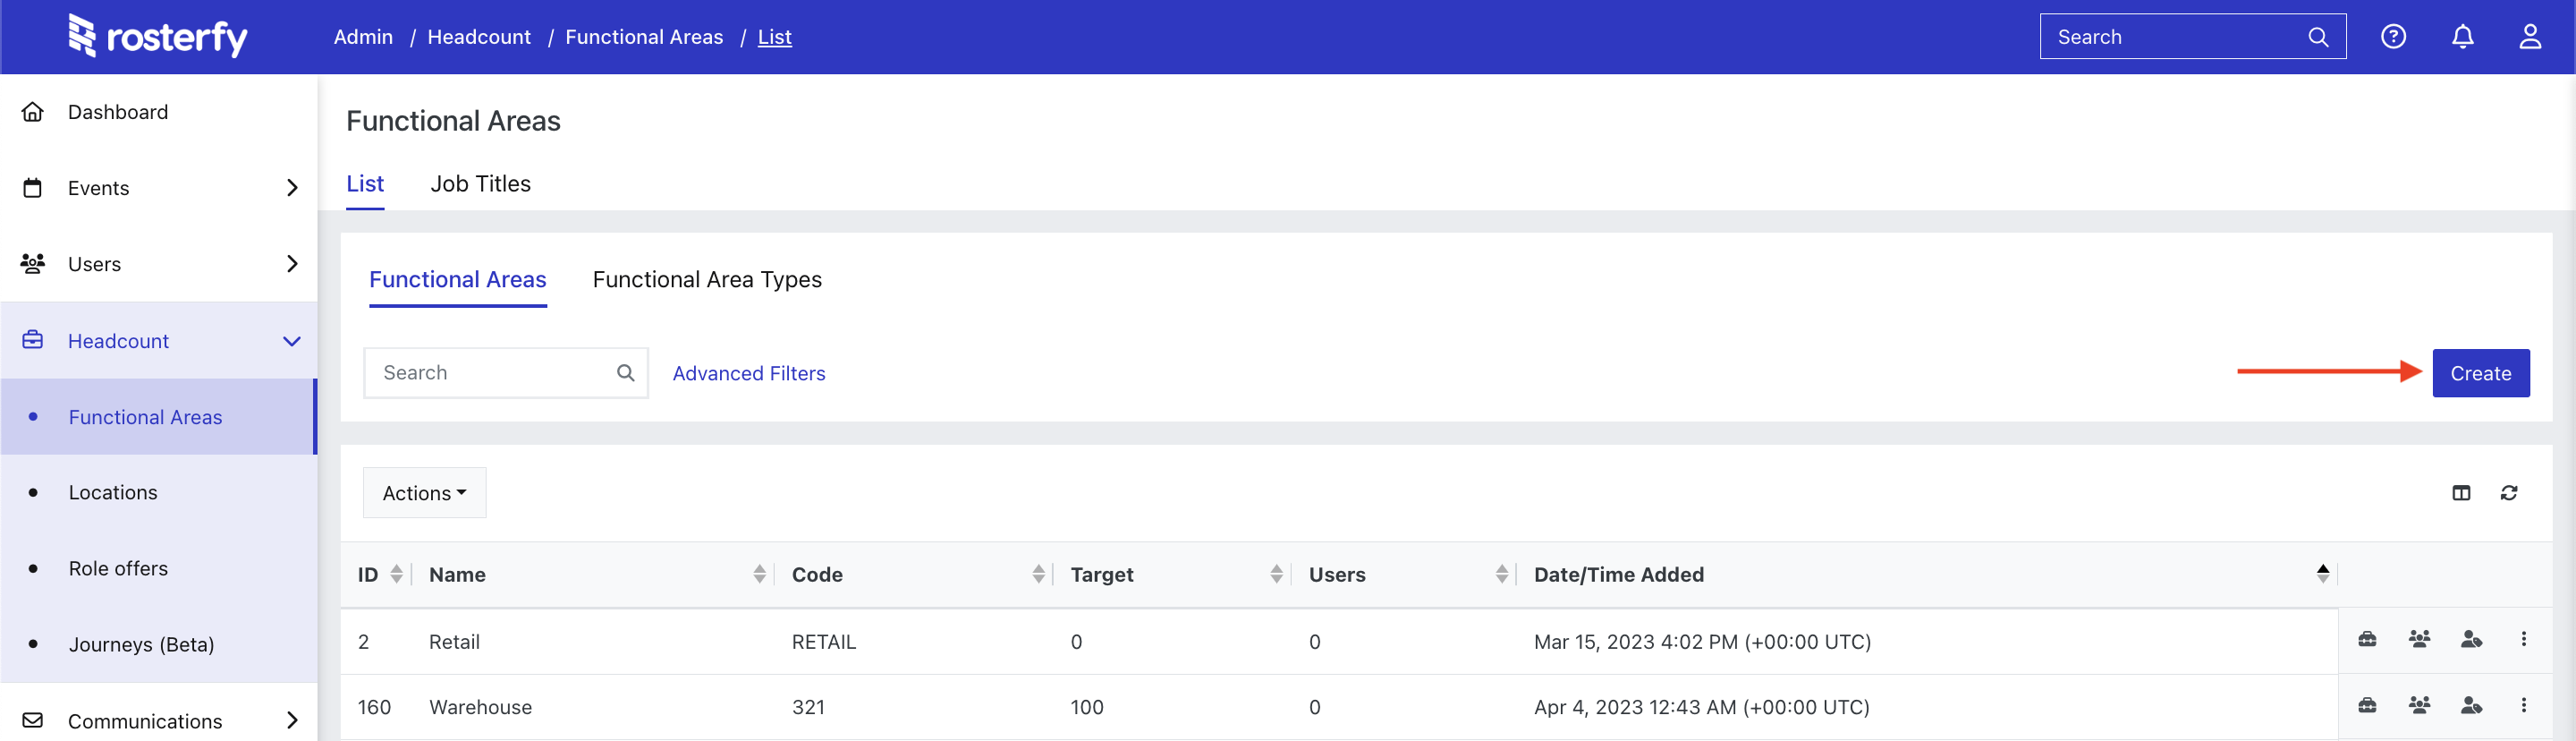
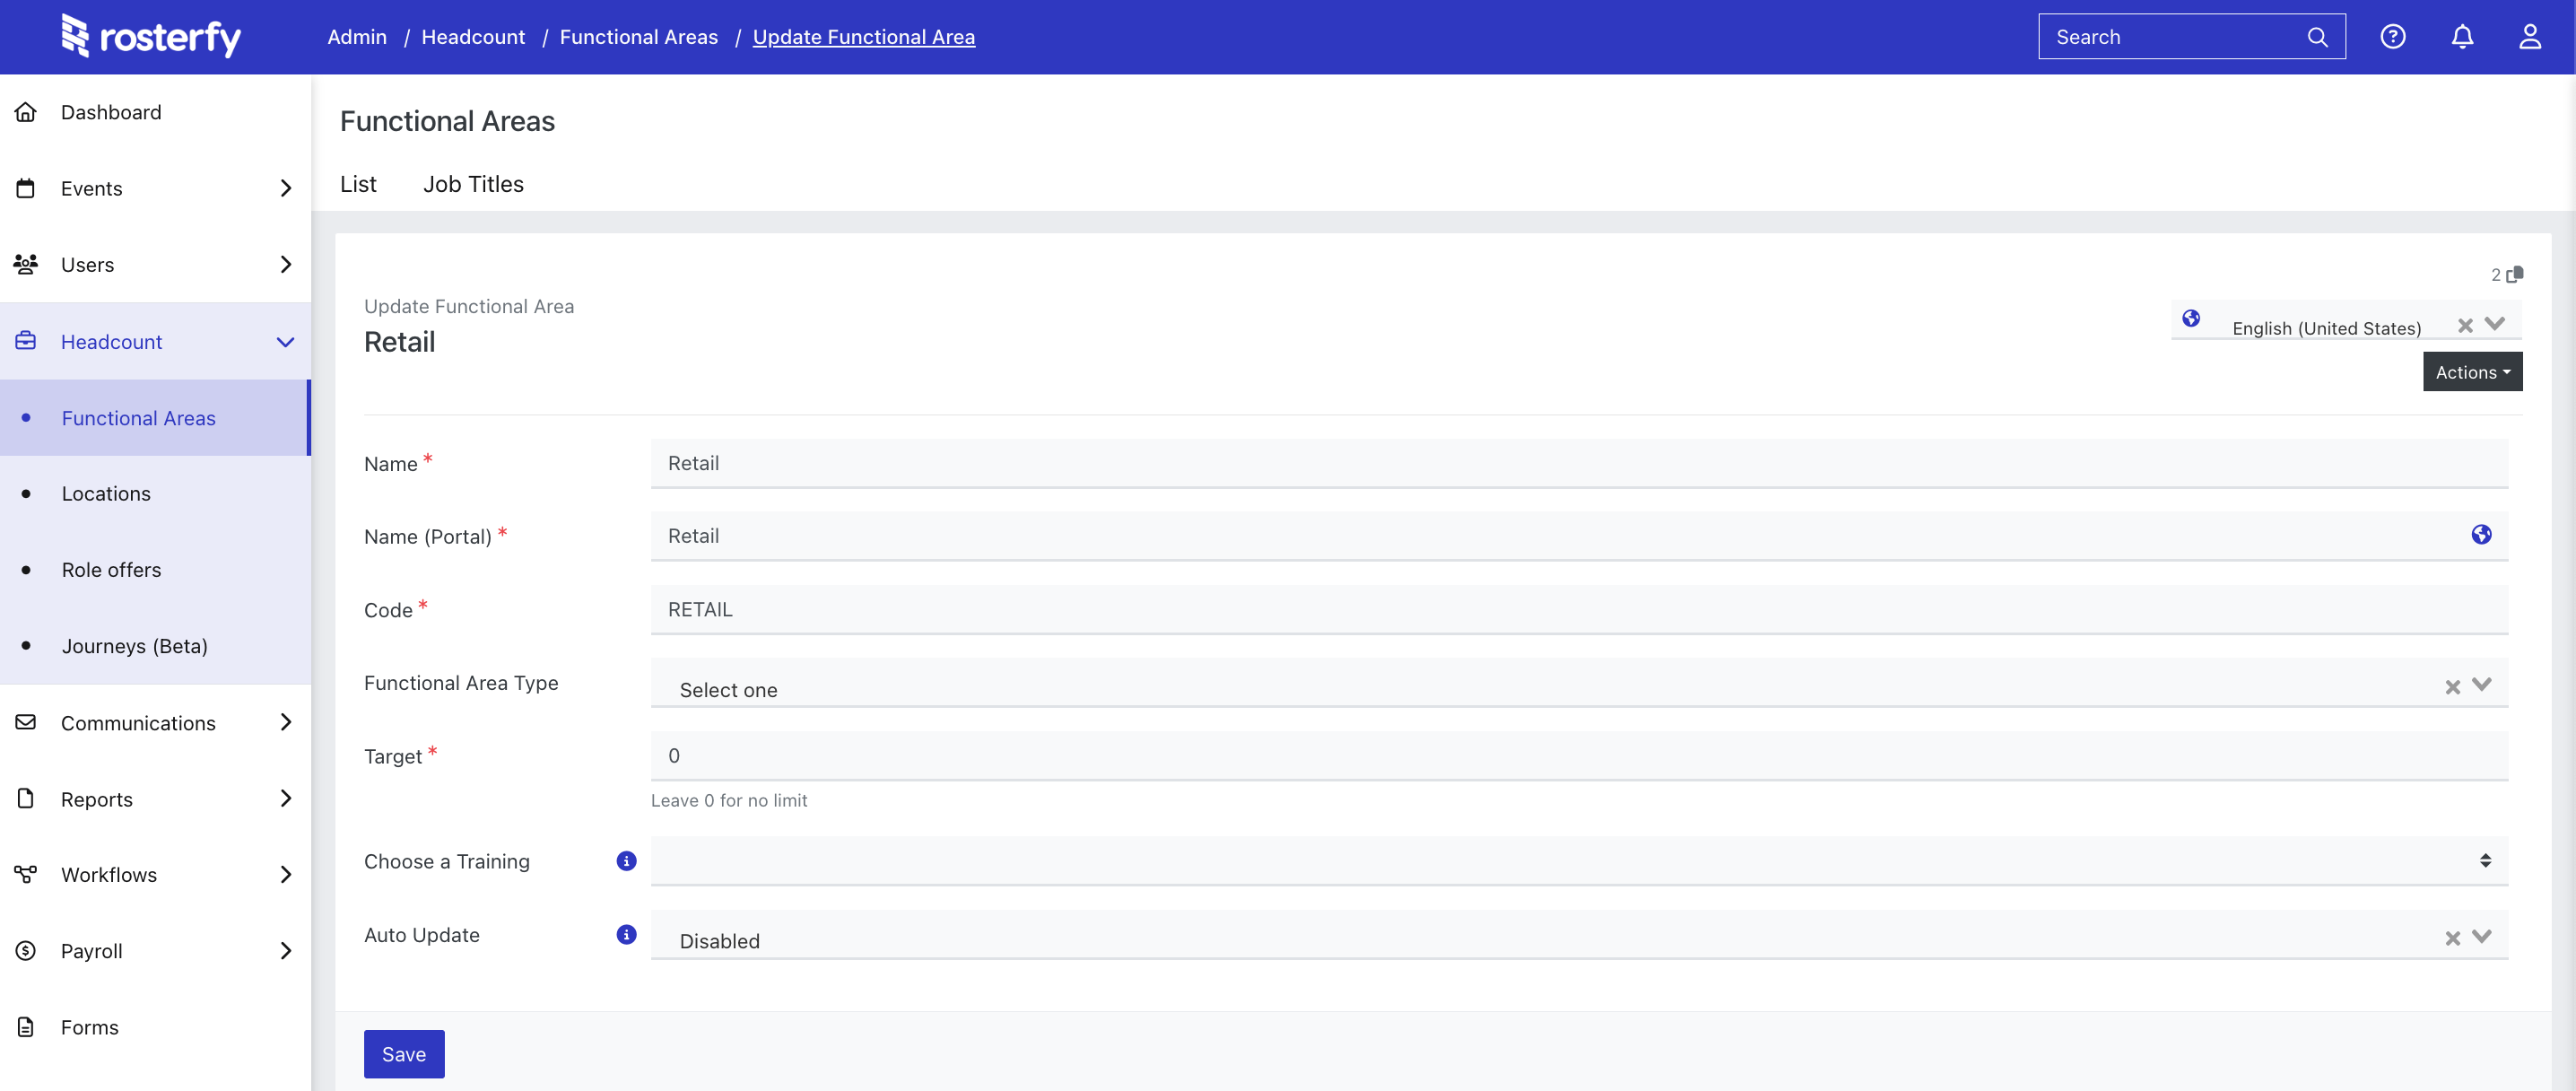
Enter the details of the Functional Area
Create a Job Title
The 'Job title' is the name of the job (role) that you want to create, i.e Shop Assistant, Retail Manager or Driver.
From the Functional Area listing, click on the suitcase icon to view Job titles

Then hit 'Create'

Enter the Job details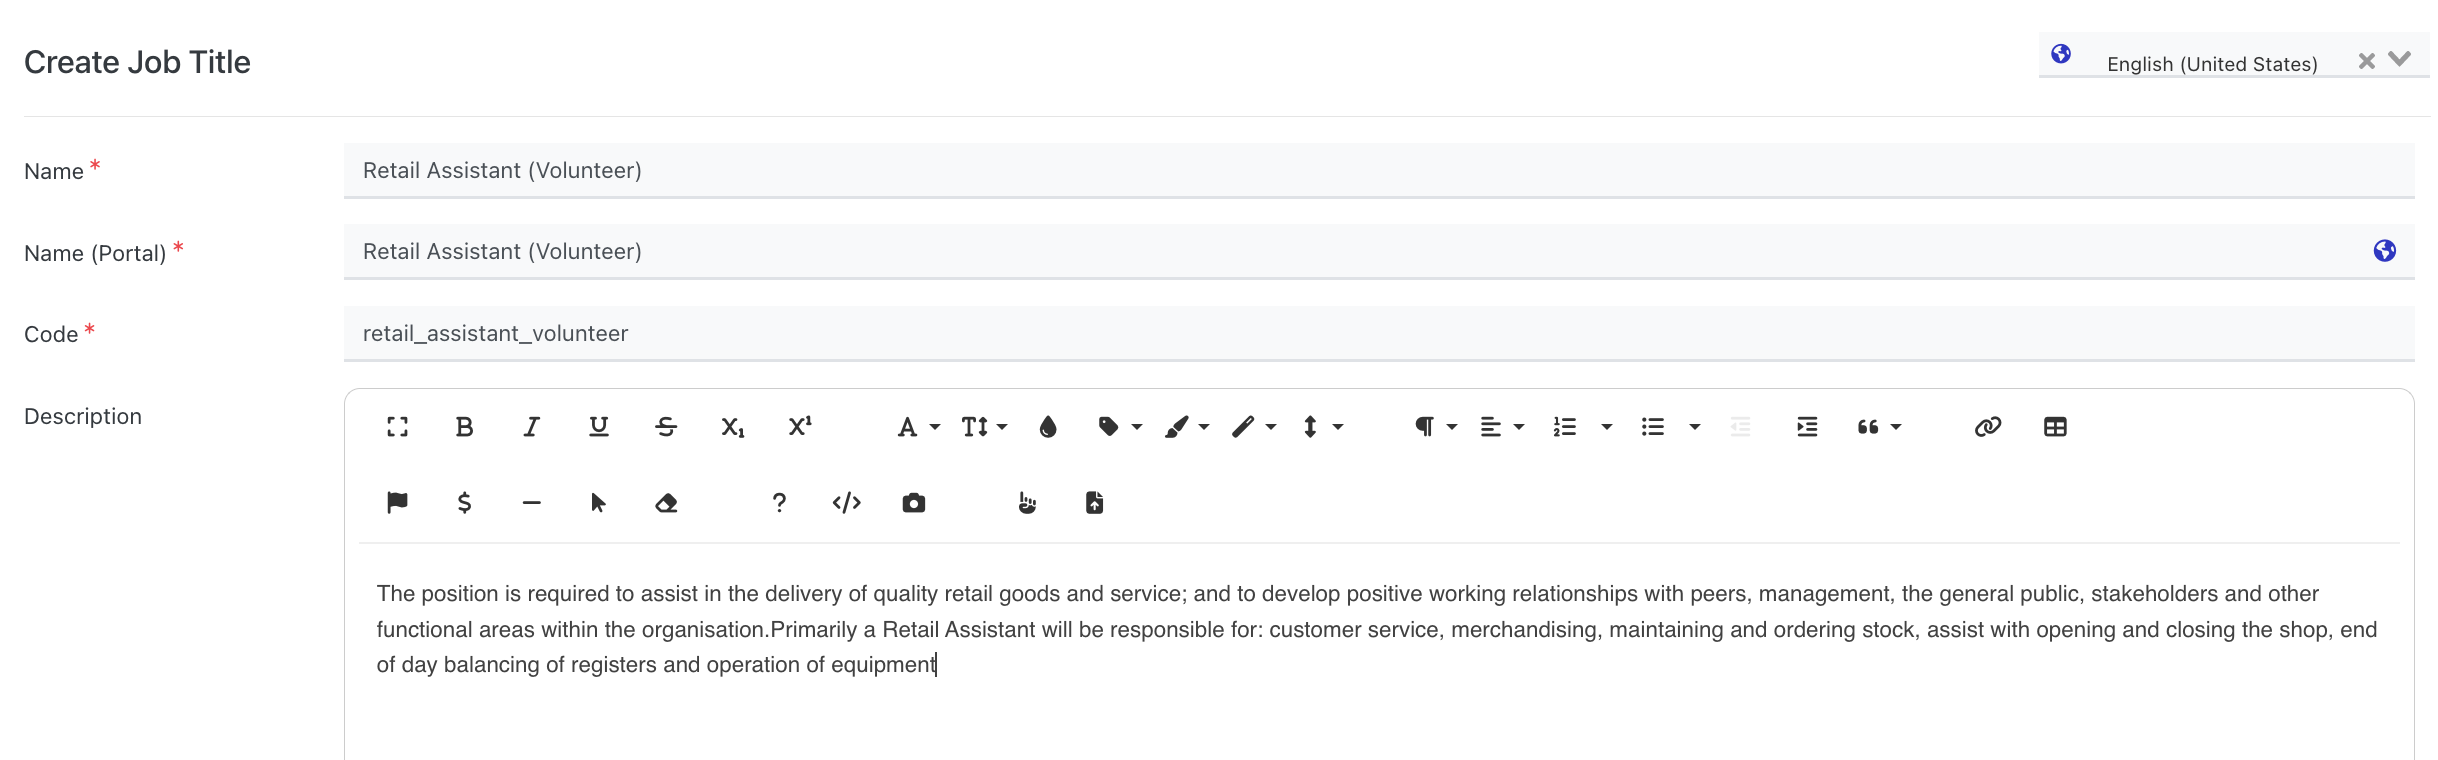
Creating a Location (optional)
Create a' location' If you want to assign a specific location and/or address to a role application, If not, the 'default' location can be used.

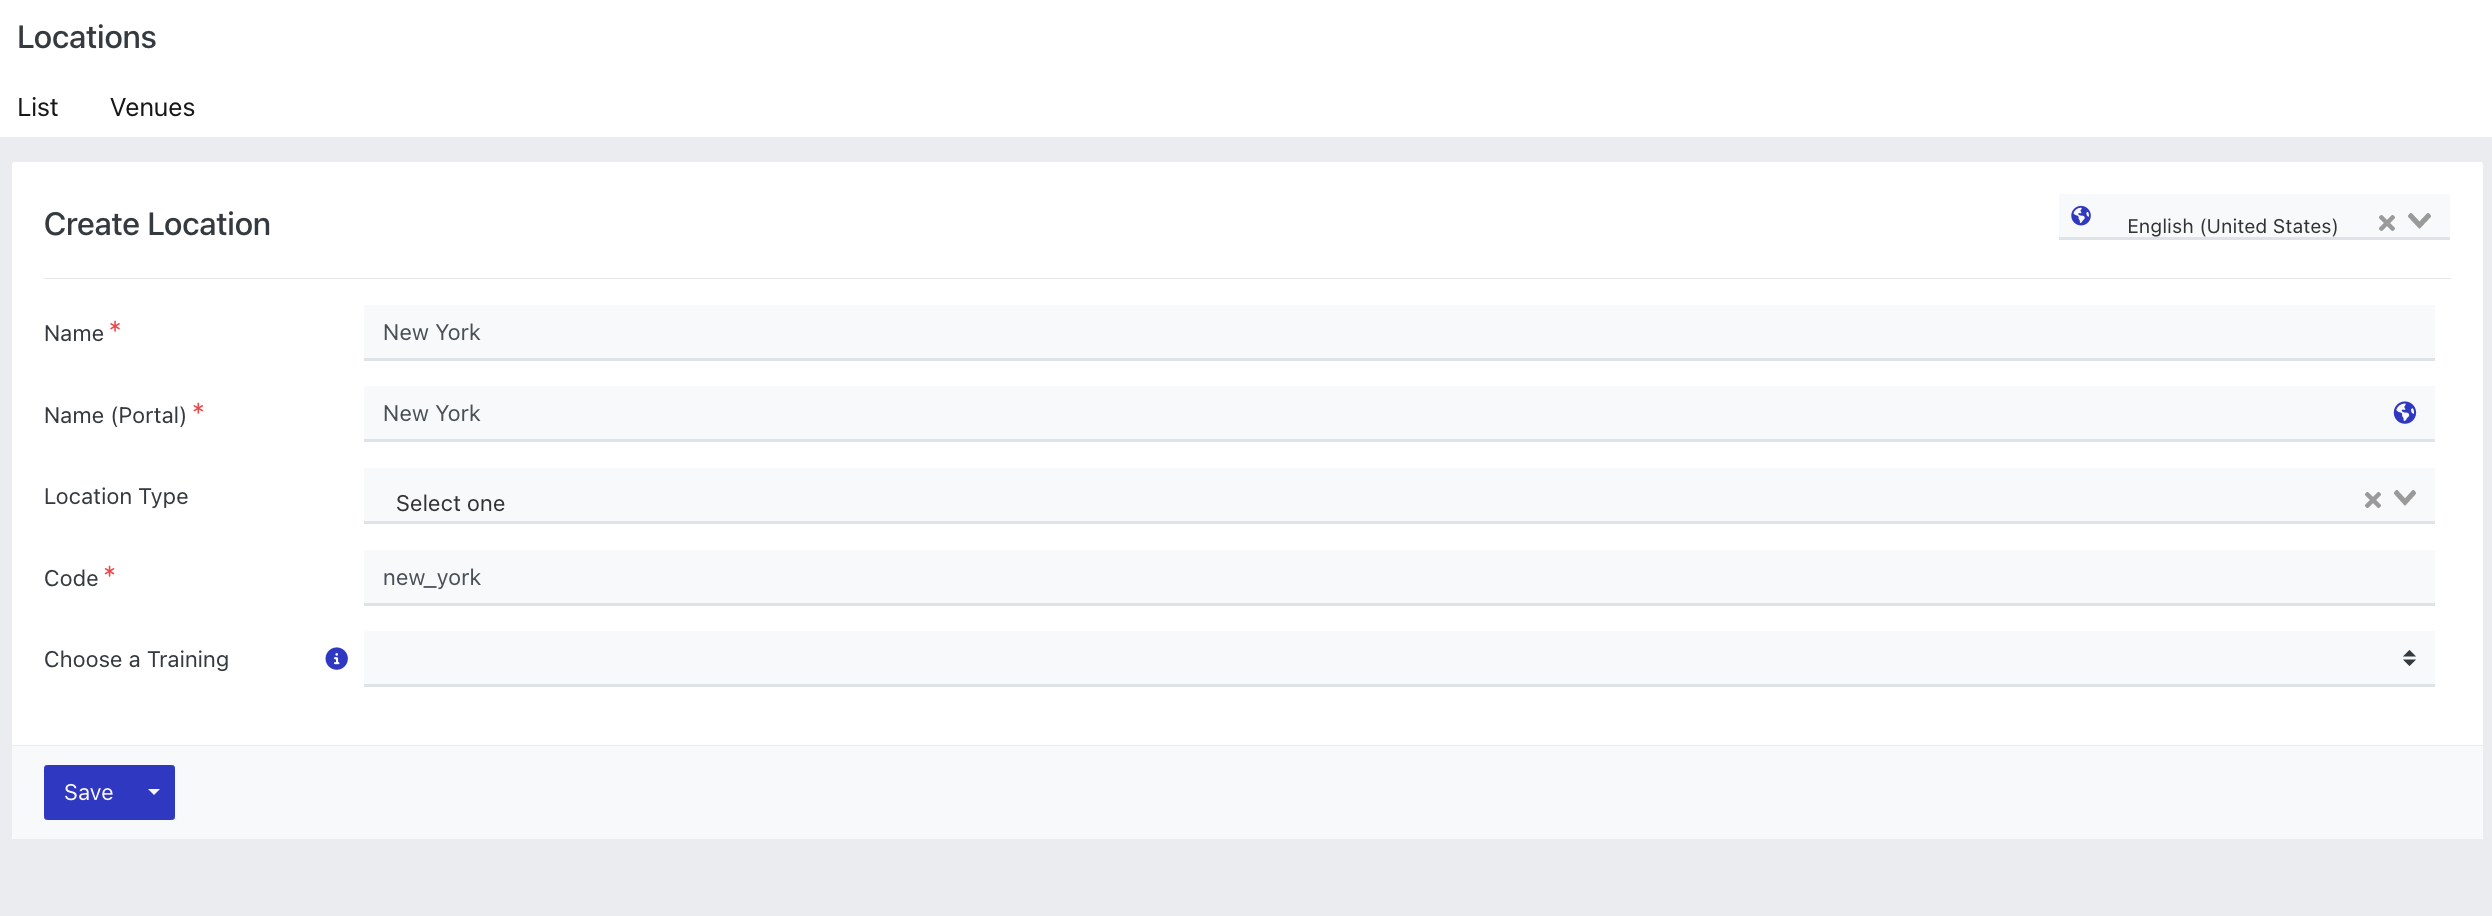
Enter the location details
If you want to add a specific map address, click on the building icon to 'View Venues' 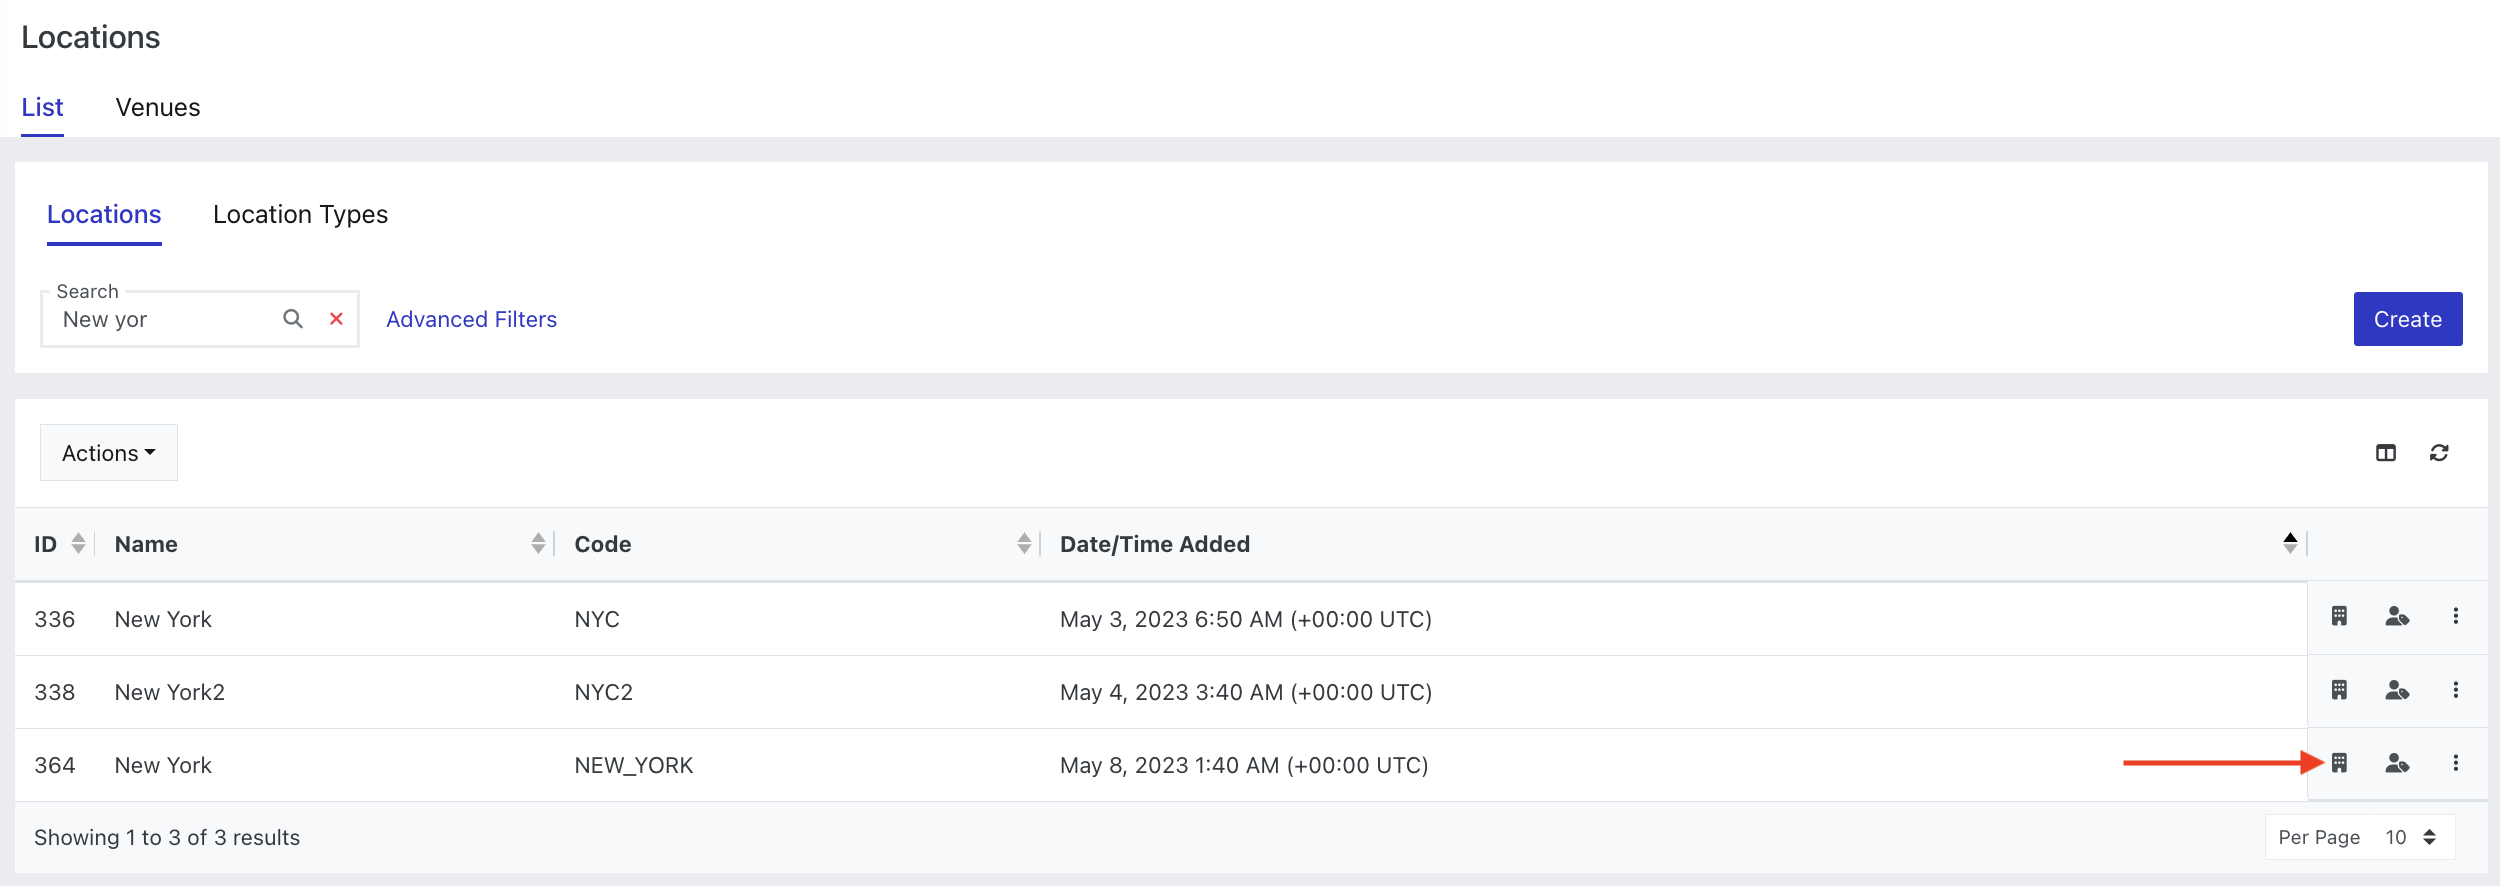
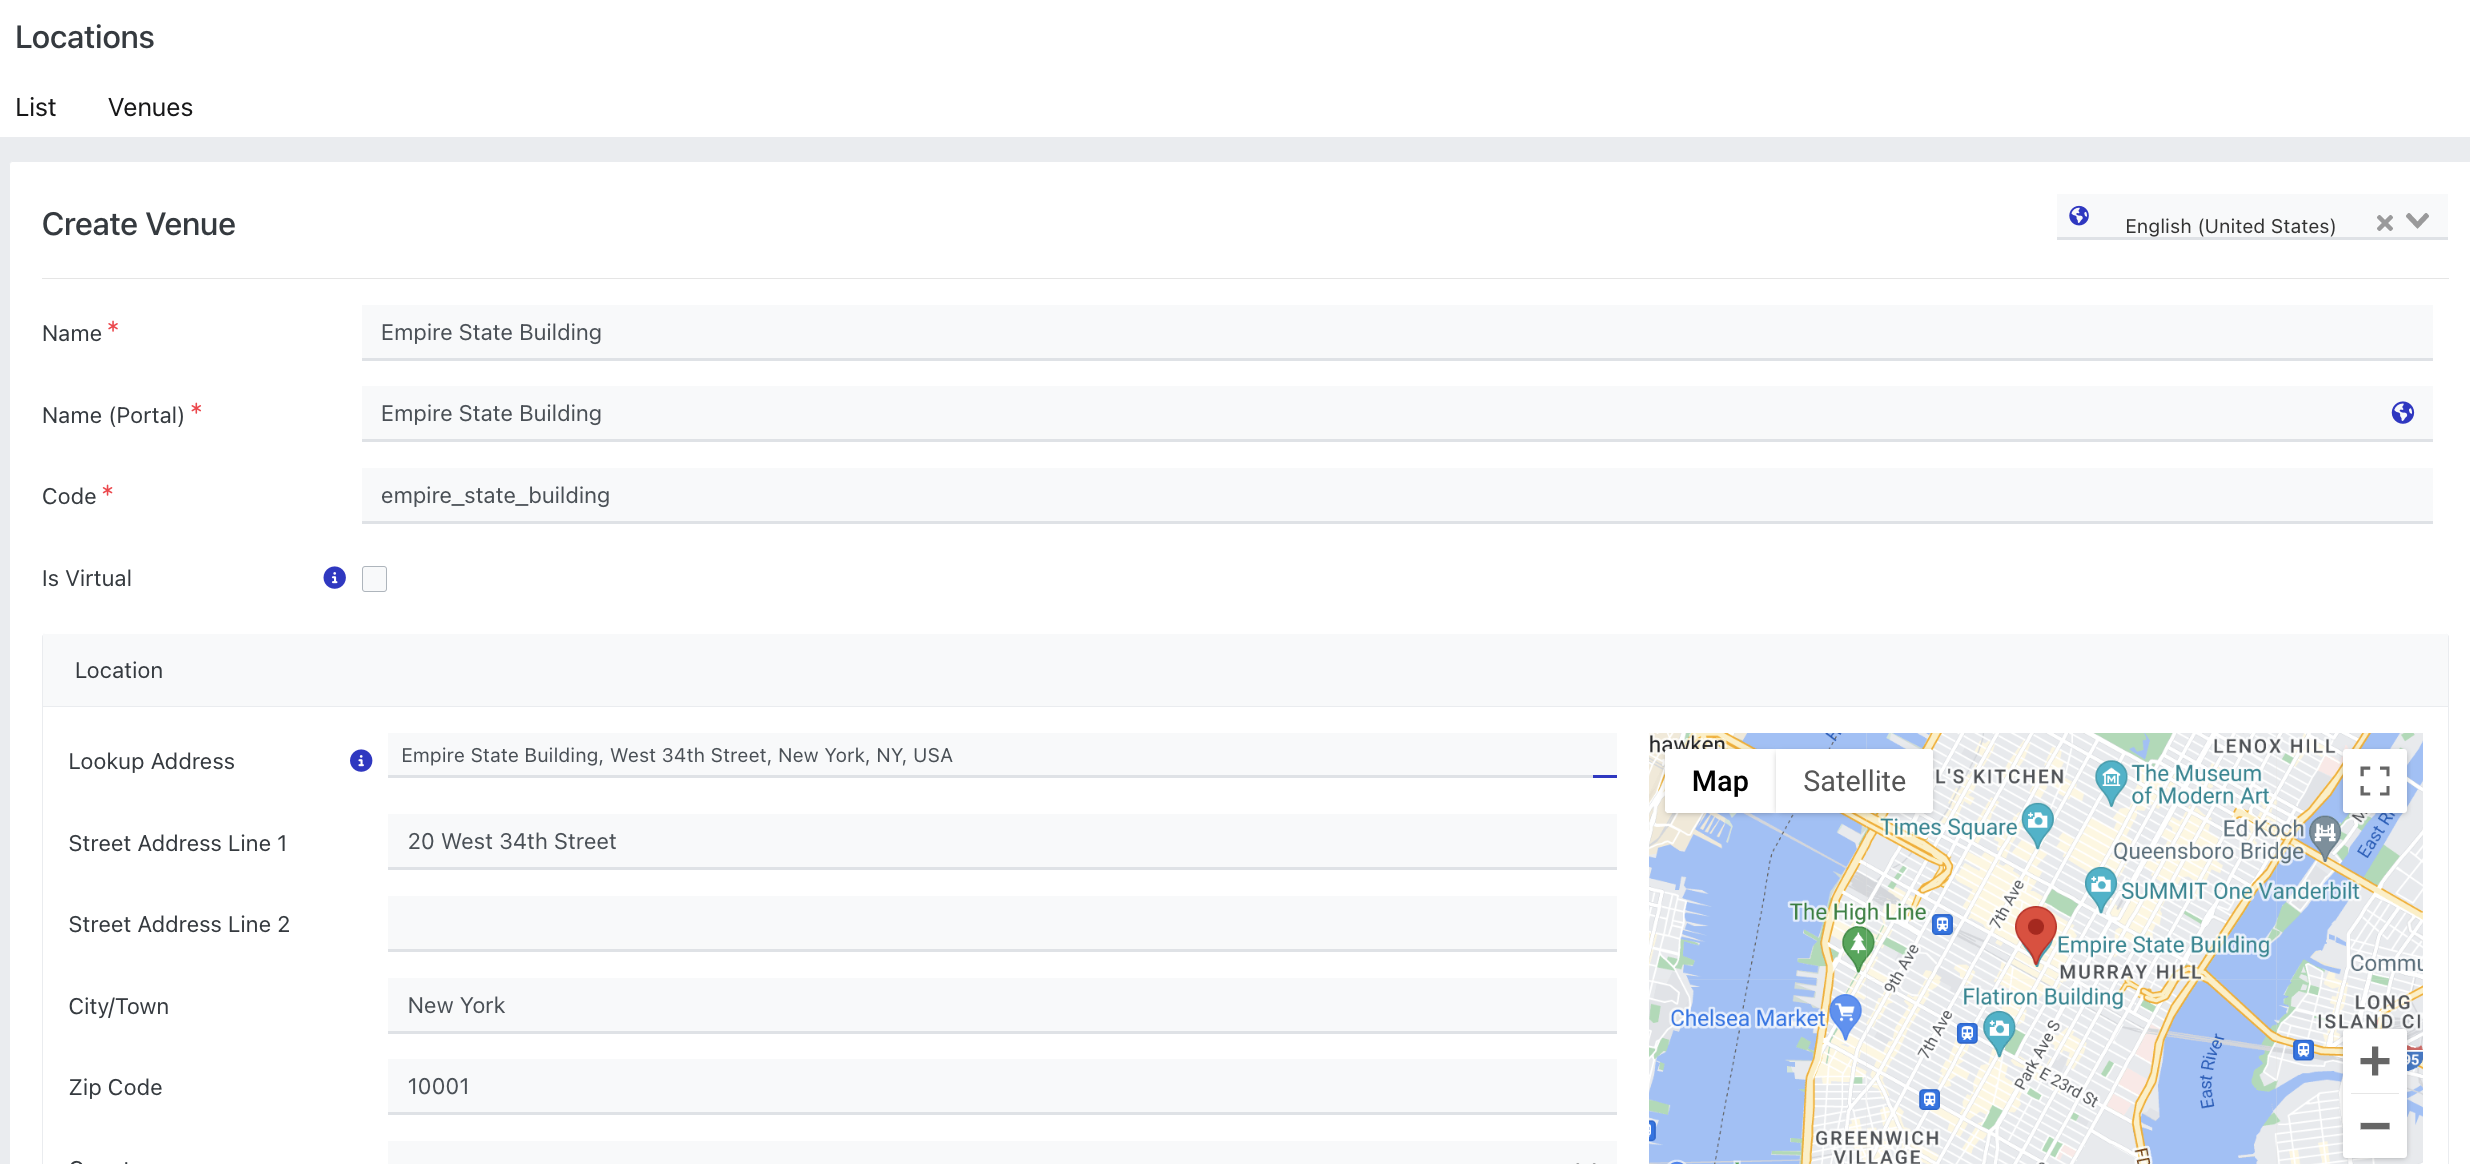
Then click 'Create'
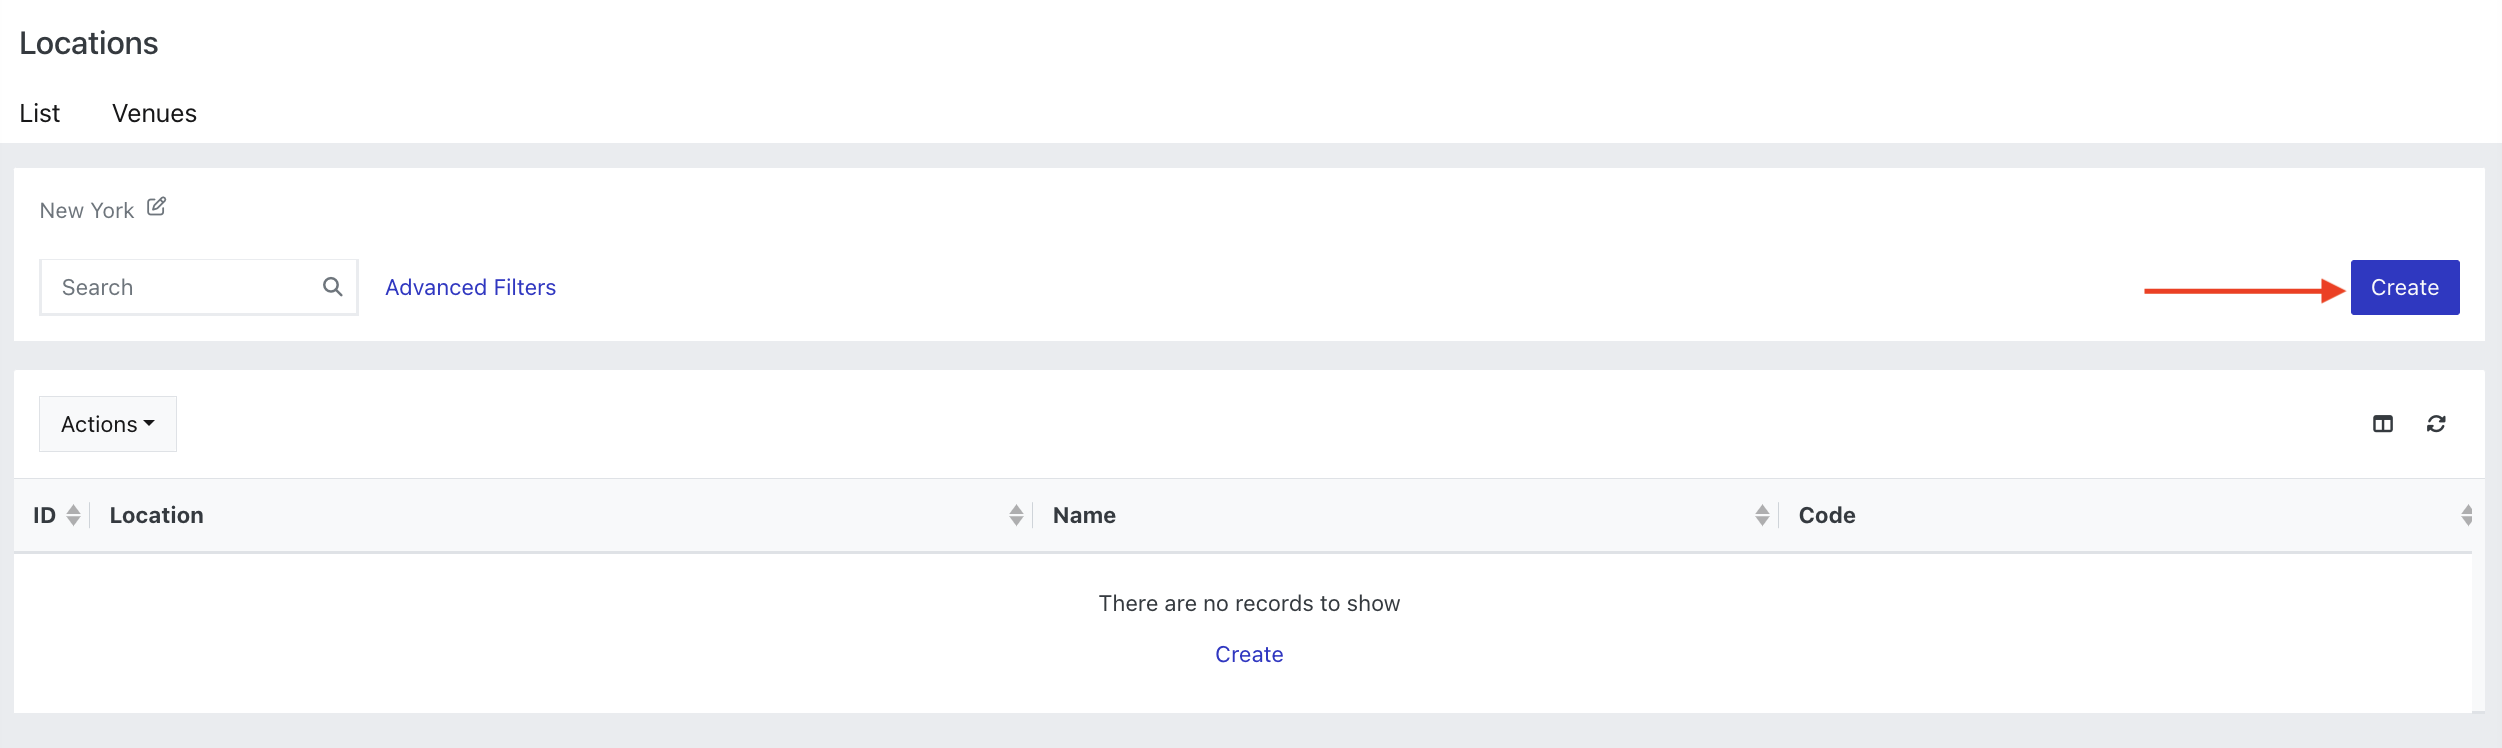
Enter the Venue details
Create the 'Role'
The Role is a combination of Functional Area, Job title and Location/Venue.
Go to Headcount > Role Offers
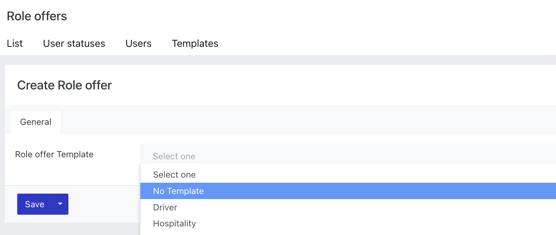
Complete all the required fields on the General tab
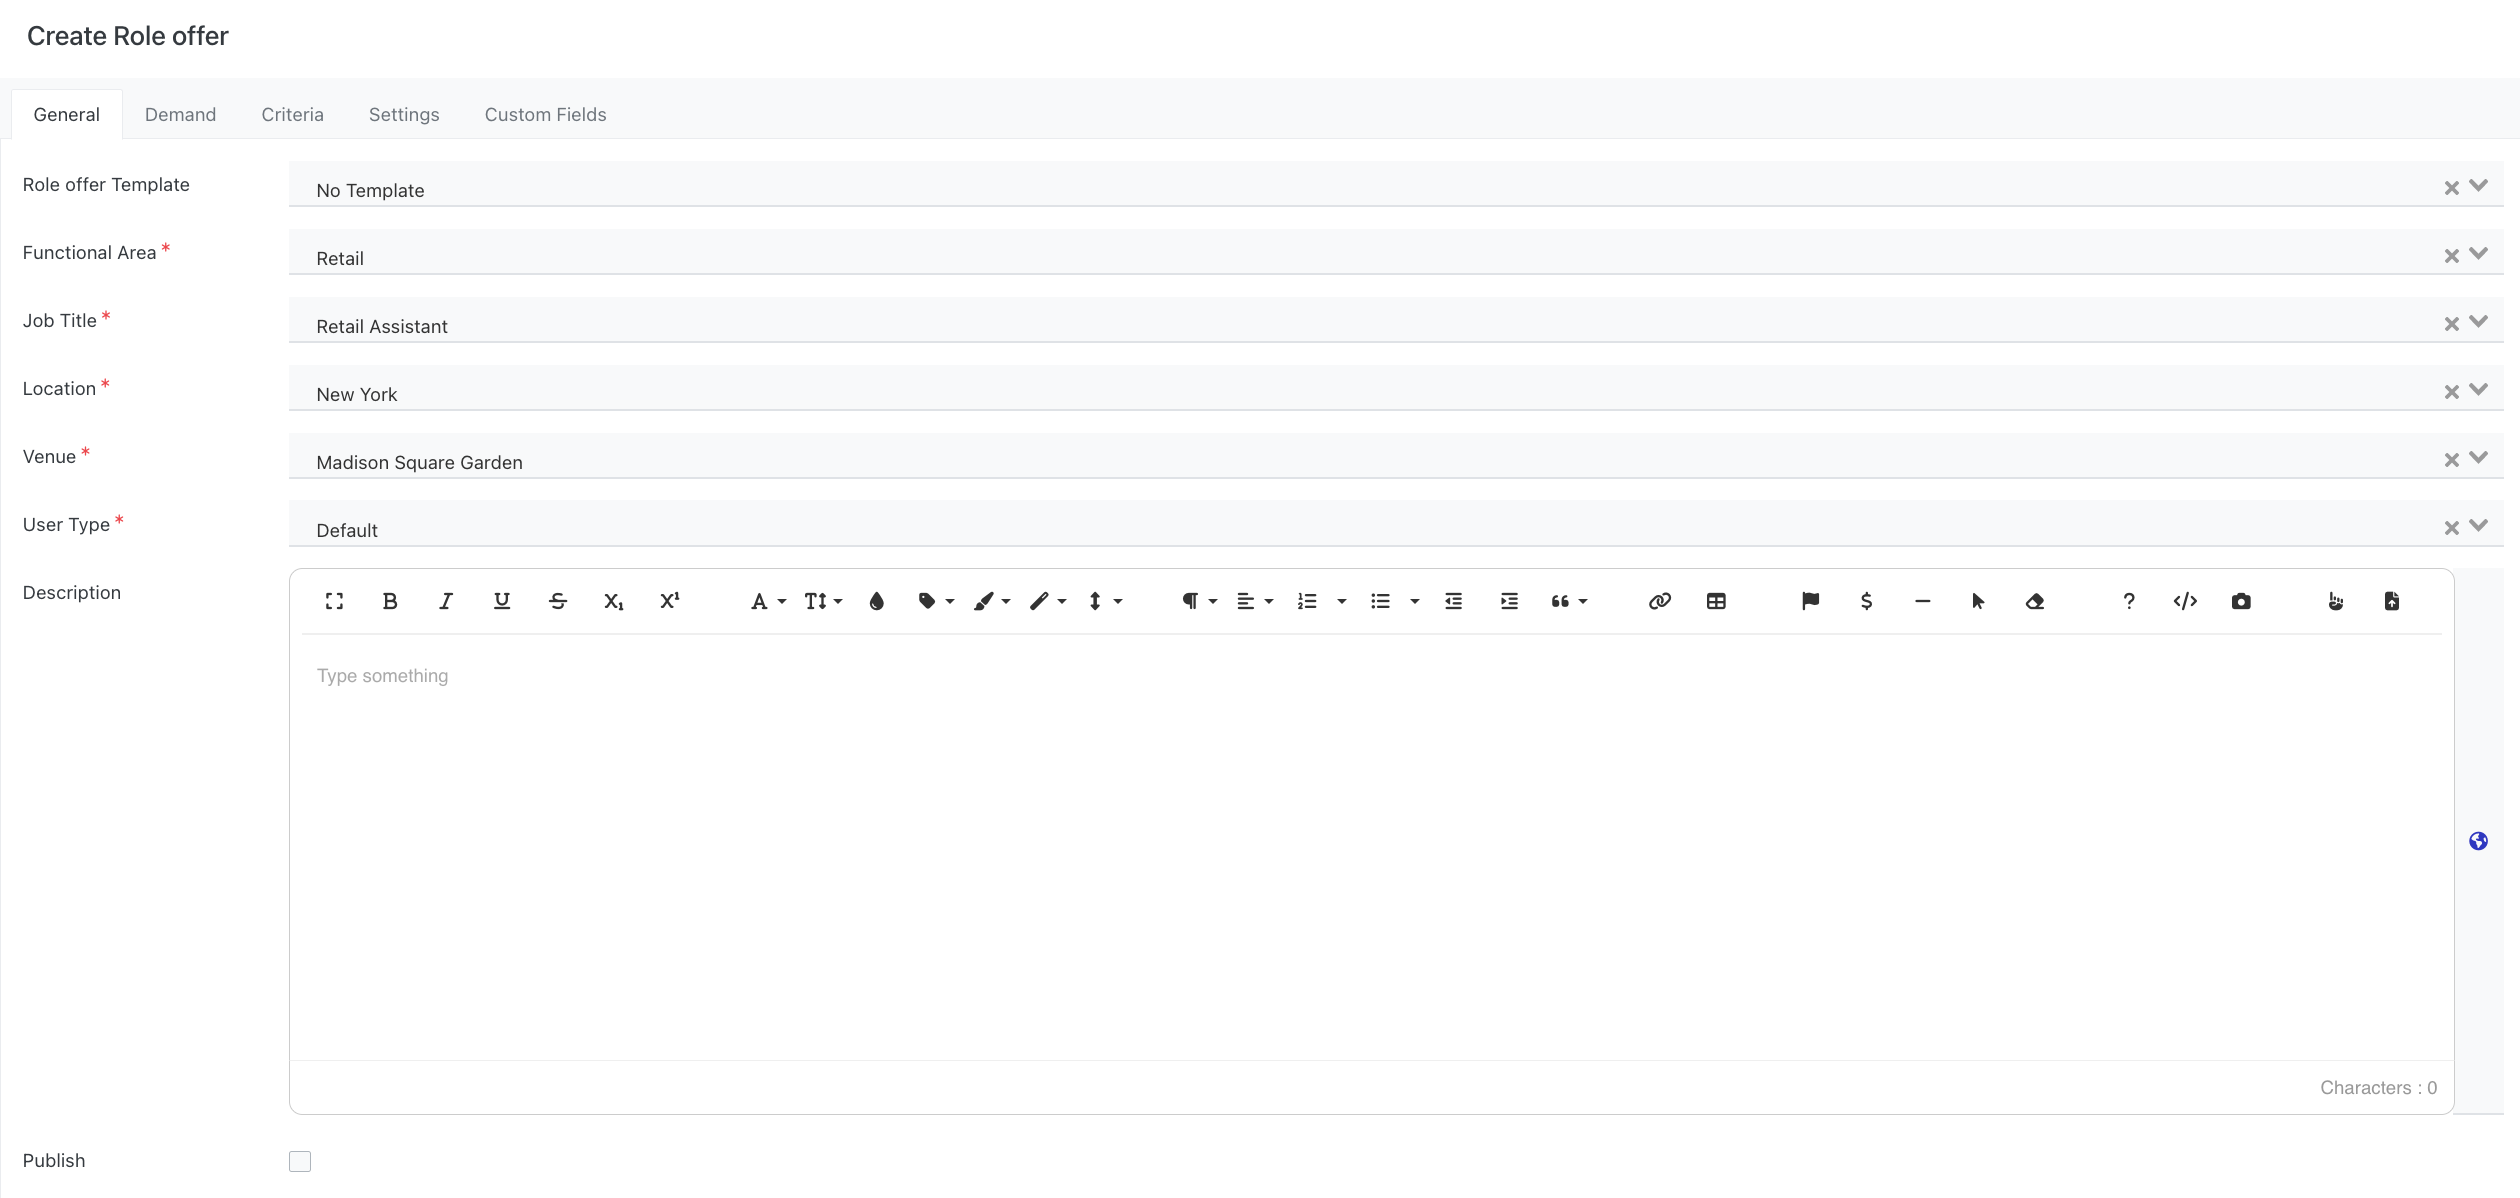
Go to the Demand tab and enter the 'demand' for this role (i.e the number of places available for this position).
Note - this is purely for reporting, role applications will remain open once this number is reached.
Go to the Settings tab
- Select 'Allow Users to Self-Apply'
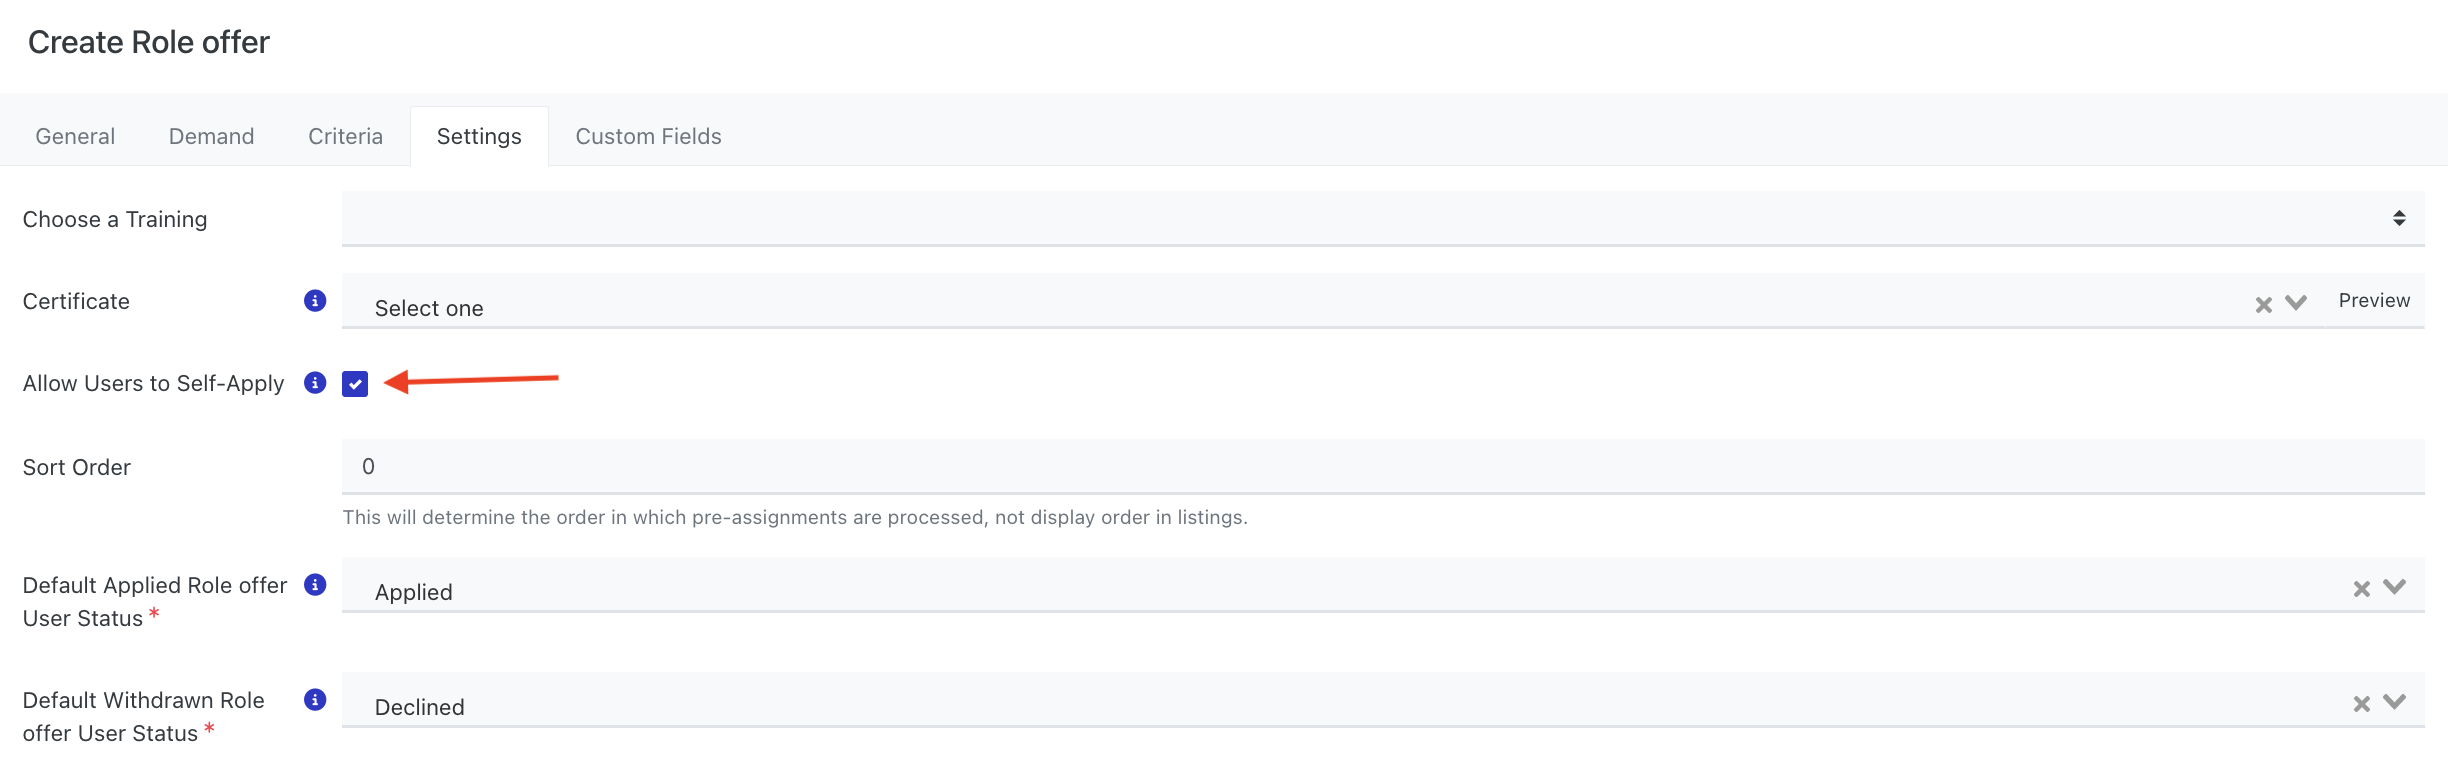
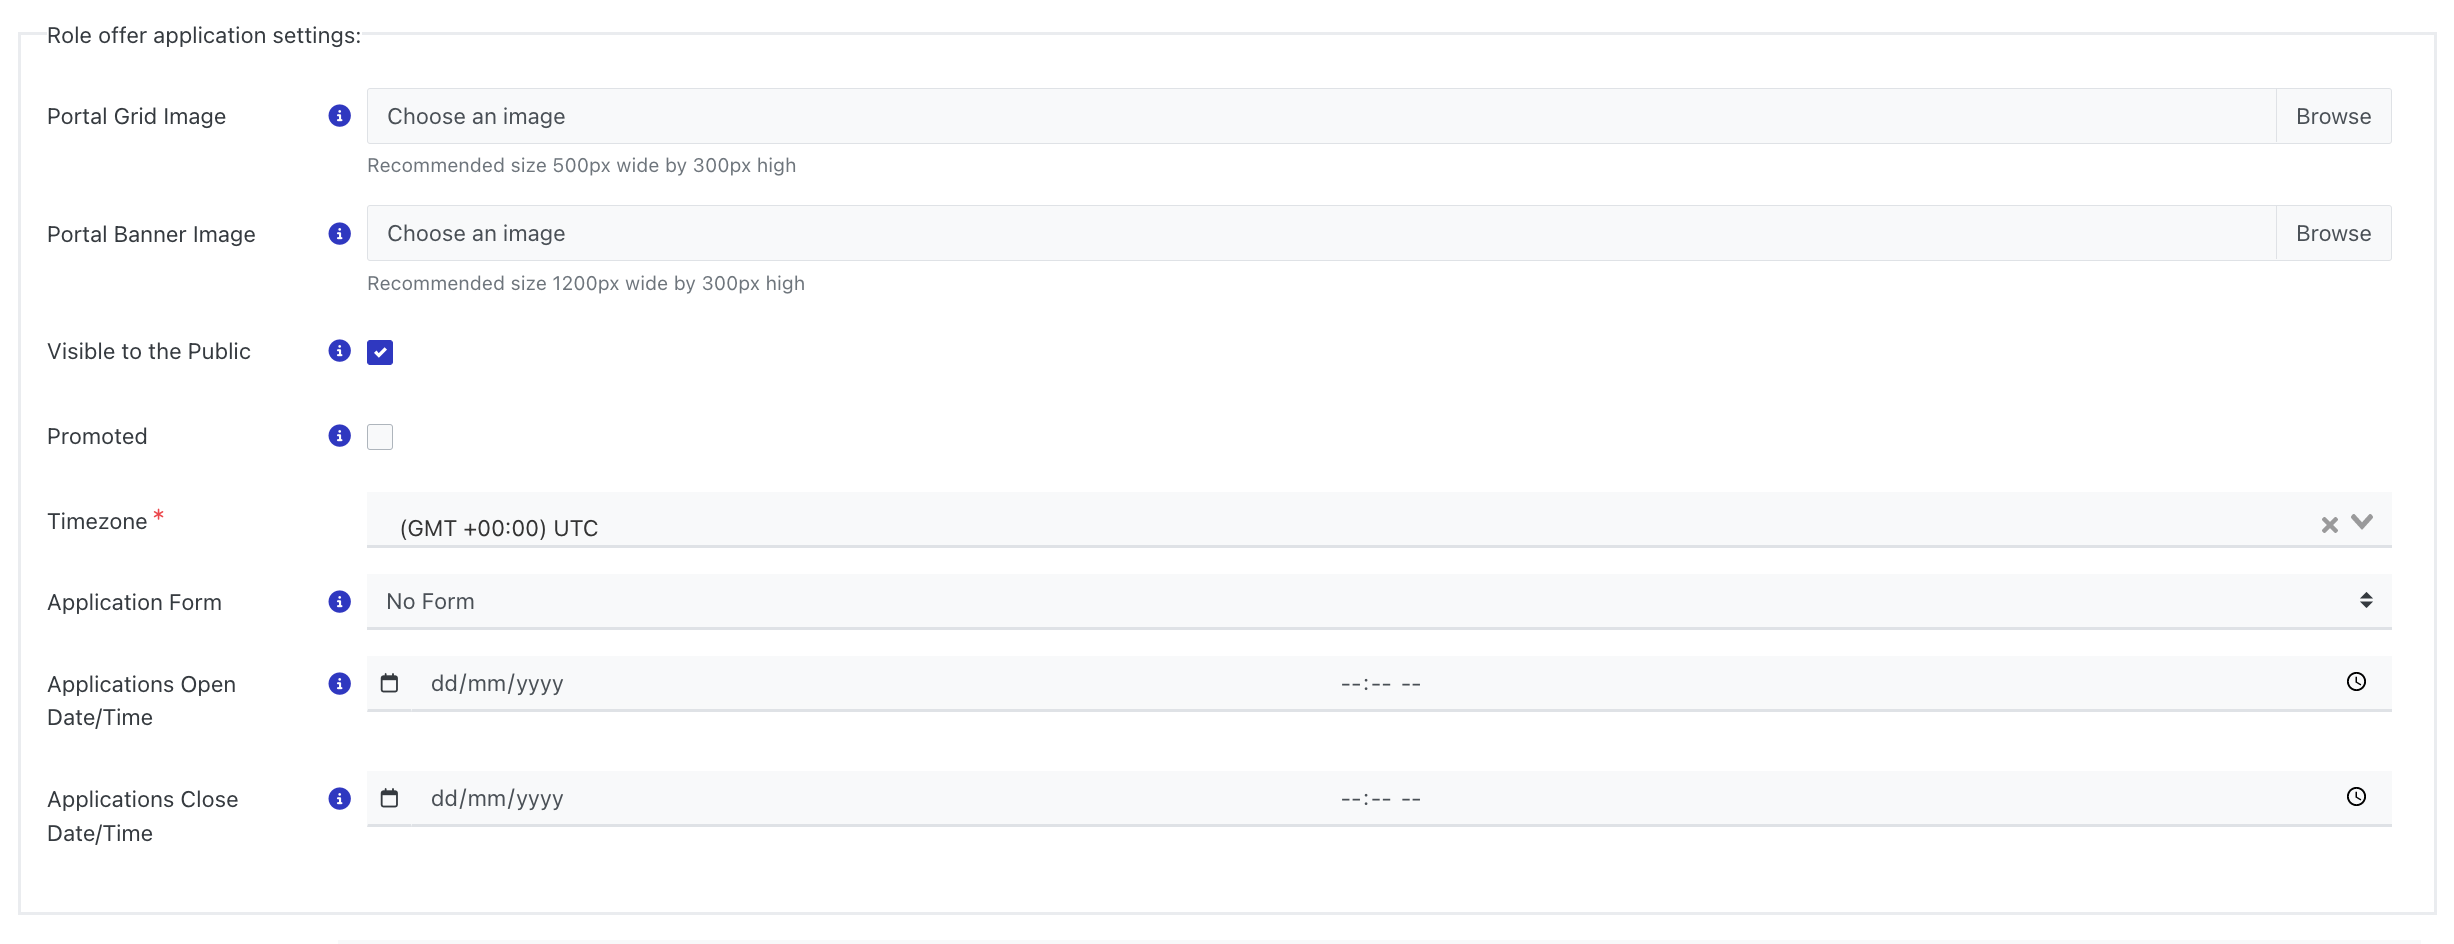
- This will display Application settings for this role, including;
- Making the role visible to the public
- Attaching the Application Form
Finally, select a Journey for the role.

Note - you cannot assign a Journey to a role after it is created, be sure to create a journey first.
Save