To streamline to check-in process for candidates, a shift check-in link can be added to emails via a merge tag.
The first step to allowing self-check-in via email is making sure your shift allows self-check-in.
Check out the Self Check-in article on how to set this up.

Once self-check-in is allowed you can now generate your merge tag for email communications.
Go to the Communications tab, select email, and open templates.
Here you will create your own template for self-check-in. This template can be made to be sent out when you would like volunteers to check-in. See the attached link for more details on emails. Emails - Overview
When creating your template you will want to attach the merge tag *|event_shift_user_checkin_link|*
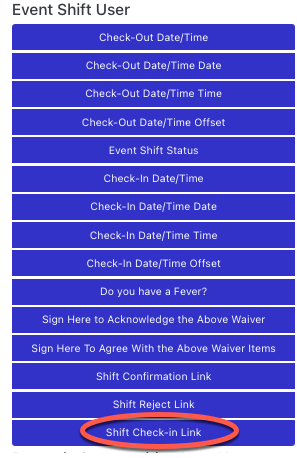
This will add the merge tag that will add a link for the Volunteer to click on to check in for that specific shift, and specific event.
Note:
- If the shift has a Check-In Form attached, candidates will be directed to Log In to complete this form before they are able to check-in.
- If the Self Check-In window is not yet open, the check-in link will be invalid. It's important you communicate this with candidates OR ensure the email is sent when the check-in window is open.