To send an email to a specific user within Rosterfy, you can navigate to either the Communications tab, or the user's profile.
1. Sending an email from the Communications Tab
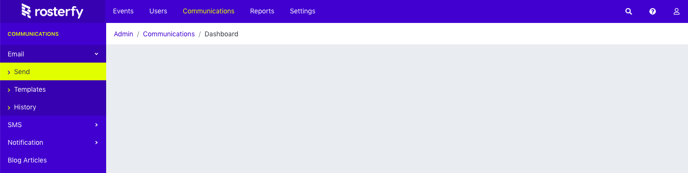
Go to Communications >> Email >> Send.
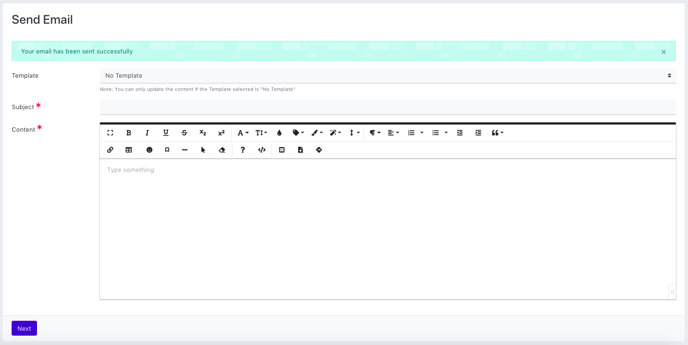
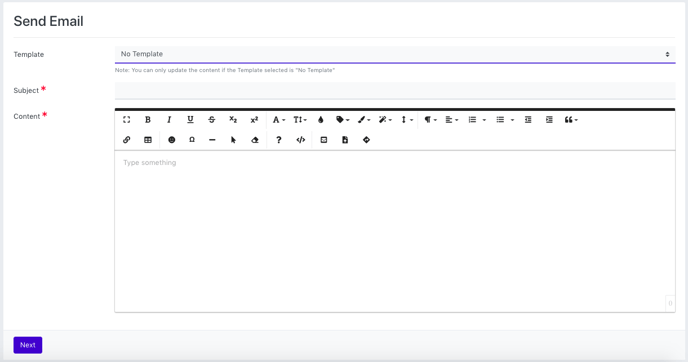
From there, you will be taken to the email content page, where you can select the email template that you would like to use or input an email subject and content to send.

Once you are satisfied with your content, click Next. You will then be able to add the users or guests that you would like to send the email to.
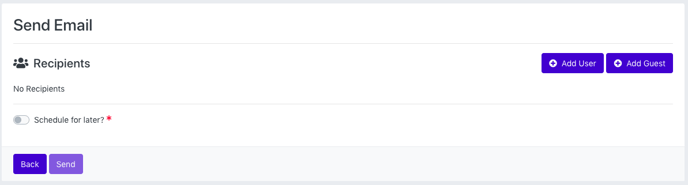
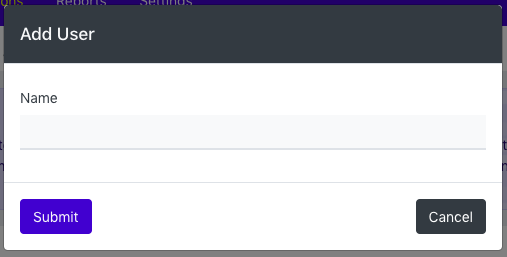
To add existing Rosterfy users to the recipient list, click +Add User. Type the user's name into the search bar and click submit once you find them.
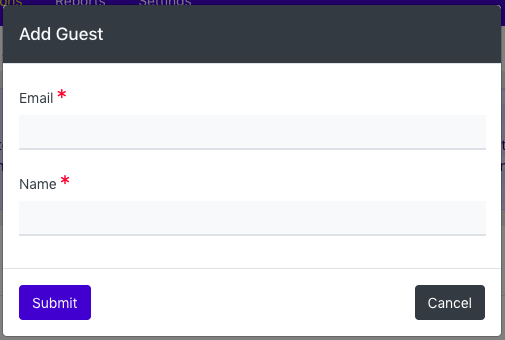
To send the email to a guest, meaning a person who does not have a Rosterfy account, click +Add Guest. Then input the name and email address of the guest.
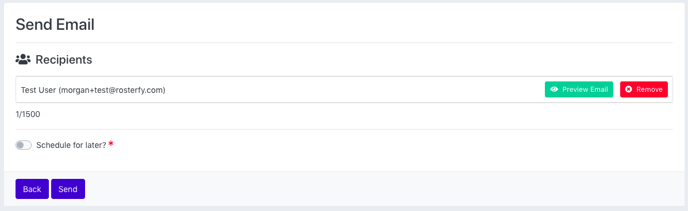
Once you have your recipient list, you can decide if you would like to schedule your email for later, or send now. If you would like to schedule it for later, turn on the toggle and input the date and time you would like it to go out. When ready, click send. You will receive the following notification when your email has been sent or scheduled.

2. Sending an Email to a User from the User Profile
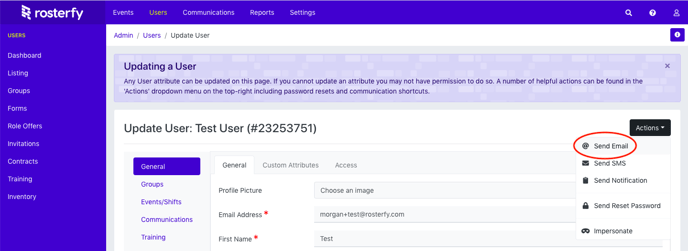
To send an email directly to a single user, use the user search bar in the top right corner of the screen to search for the user's first name, last name, email address, or Rosterfy ID.


You will then be taken to the user's profile. To send them an email, click the Actions button and select Send Email.
From there, you will be taken to the email content page, where you can select the email template that you would like to use or input an email subject and content to send. When you are satisfied with your content, click Next.
You will then be taken to the send email page where you can send your email or decide if you would like to schedule your email for later. If you would like to schedule it for later, turn on the toggle and input the date and time you would like it to go out. When ready, click send.
You will receive the following notification when your email has been sent or scheduled.