This document will provide an overview of the features/updates the product development team has delivered in Sprint SPO55 (14 February 2023 Release)
Saved Filters
When a filter is now saved, it is saved to the database so that it will appear on other devices, not just your current computer. Additionally, you can now share your filters with other administrators, and ‘favourite’ your most used ones to appear at the top of the listing.
This applies to all filters and lists in the platform where you can build filters. If you need to update a filter, you can apply the filter and then make your updates.
For any existing filters you currently have, you will have the option to save to the database to then share or favourite. You cannot share a filter that is not yet saved to the database.


You can still copy a filter to send to someone as a URL. Only the owner of a filter can modify the filter including changing sharing settings and favorite settings. Any filter that is favorited by someone will be a favorite for all users.
Ability to add labels to the User Update page
There is now an account setting to set the ‘labels’ that are available on the user update page to suit specific business requirements.
To set these labels, go to Organisation Settings > Admin Console
You can choose from any field in the system which is of the type;
‘Dropdown’, ‘Number’, ‘Date’, ‘Date time’, ‘Country’, as well as built in core fields like Name, DOB, checkpoint and type.
The platform will also show if the account has been locked or has requested a delete if applicable. Additional new fields also include the language chosen by the user, and the timezone of the user.


Recording login history for reporting
All login attempts have always been recorded for security and auditing, however now you can download this in a report. This report contains each day the user interacted with the system. In the reports section you will now find a report of type ‘Login History’.

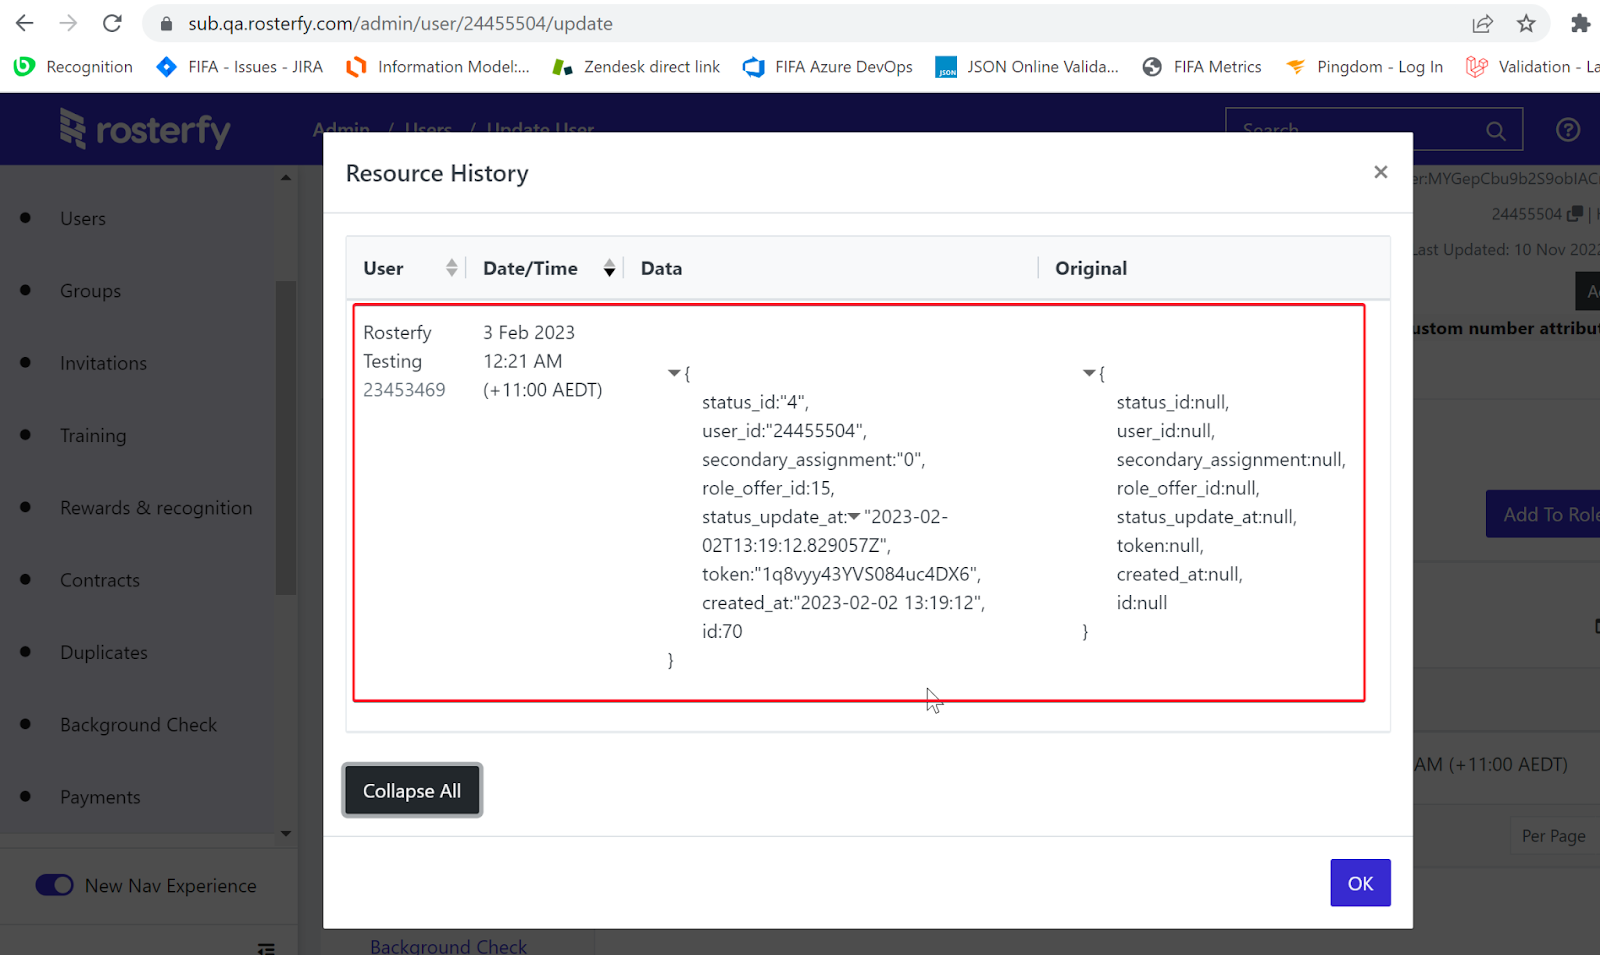
Role Offer History
We now record each status change for any role offers into a single history stream to track any changes to user’s role offers, and who made them.
Ability to define custom footer on Branding/Invitations
Custom footers can now be linked to Branding, and then attached to specific Invitation links.
Setting up custom footers for Invitation Links - Video
Considerations:
- For the user invitation, it will use the footer that matches the invitation branding ID, otherwise, it will use the latest one.
- For the portal with the impersonated user, it will use the footer content that has the most matching data.
The order of priorities are as follows:-
- current account content: matching branding + matching checkpoint
- current account content: matching branding + no matching checkpoint
- current account content: no branding + matching checkpoint
- current account content: no branding + no matching checkpoint
- parent account content: if no content found in the current account
-
Order List for Contact Centre
Contact Centre categories can now be sorted by entering the Sort Order, or dragging the categories into the desired order from the listing.

Total Hours on Event In Certificate
There is a new mail merge tag (*|event_user_total_hours|*) for certificates which will allow you to add the total number of hours attended into a certificate.
Note - The certificate can only show total hours for a single event.
1. Create the certificate, and enter the new merge tag
Note - this will need to be typed in, it does not appear in the merge tag popup.

2. Assign the certificate to an Event, under the Advanced tab.

3. Set the Post Event Publish Date

4. Once candidates have attended shifts and the post-event publish date has arrived, they will then see the Download Certificate option next to the event in their portal

Total Event Demand should not include cancelled shifts
A change has been made to ensure total event demand does not include the demand of any shifts that are cancelled.
Total Event Demand Changes after Canceling Shifts - Video
Integration with VisioTalent
Enabling the Integration
1. Navigate to Settings > Integrations
Click the “+” button

3. After saving, select which user fields to map when creating an interview.

Note: If you’ve made changes in the recruitment details in Visio Talent, you can sync those details into Rosterfy by clicking the Actions button at the top right page of the integration then click Sync Recruitments. These details will be displayed when creating an interview through automation action.
Creating an interview through automation
After enabling the integration, an automation needs to be configured to create those interviews which will be triggered by a task, for example ‘user registration’.
Prerequisite: Create an email template that contains the merge tag: *|visio_talent_interview_url|*
- Go to Workflows > automations > click create button >
Select a task, i.e User - Register. - Click save.
- After saving, click the add button.
- You will then be shown a modal, select the Create interview in Visio Talent for the action. Click the options tab and select which recruitment you want to create an interview for the user, and select the email template created above to send the email to the user that contains the link to the interview.


Watching the interview
Admins can only watch the interview if the user has completed it. To watch it:
- Go to the users list page > select the user you want to watch the interview of > Click view profile
Go to Background Check tab > Click the 3 dots button > Click Watch.

Limitations
This integration can only accept one user ID at a time. If for some reason the user ID has been changed all the interviews created under the previous user ID are still retained and will need to configure the integration to use the previous user ID in order for the interviews to be watched.
Logging User Hours from Portal
Candidates can now log their own hours from within the portal.
There are a number of new settings to enable this feature from within the administration console:
- Terminology
The default term is ‘User Activities’, this can be changed per customer, i.e to User Hours. - Account Settings
Organisation Settings > Events > ‘Allow users to log additional hours’
Organisation Settings > Events > ‘Additional hours form’
-
New Form Type
A new form will need to be created using the Event User Activity Interaction form type

- Advanced Event Settings
When creating a new event, within the Advanced Settings, you will now see:

Account Settings & Setup Video
Once the account settings are configured, Candidates will see an option to Report Volunteer Hours (Report User Activities) within the event page in their portal.
When clicked, this will prompt the user to complete the form and enter the start date/time and end date/time of their activity.
Candidates can also view and delete their activities from the portal.

Logging Hours from Portal Video
Administrators will be able to review, amend and approve/reject submitted hours/activities.


Reviewing/Amending Hours from Admin Console Video
Low Vision can now add users to shifts and groups with a button instead of drag and drop

Timestamp Reports sent with SFTP
The name of reports sent through SFTP will support limited merge tags to allow the date and time to be sent as part of the filename. The filename in the application will also update each time the report is generated. The available merge vars will be
- date - YYYY-MM-DD - 2022-10-31
- time - HH:mm:ss - 17:23:02
- datetime - 2022-10-31 17:23:02
- author_name - Christopher Grant
- author_id - 123456
Note, all mergevars should match existing functionality, where the var is wrapped in *| |*
This means that if the filename required needed to be 2022-11-03-delta-crm-report.csv, then the report name would be in Rosterfy *|YYYY-MM-DD|*-delta-crm-report.csv
